Insights · October 13, 2026
Run your own Ethereum node. Send the archive calls to the cloud.
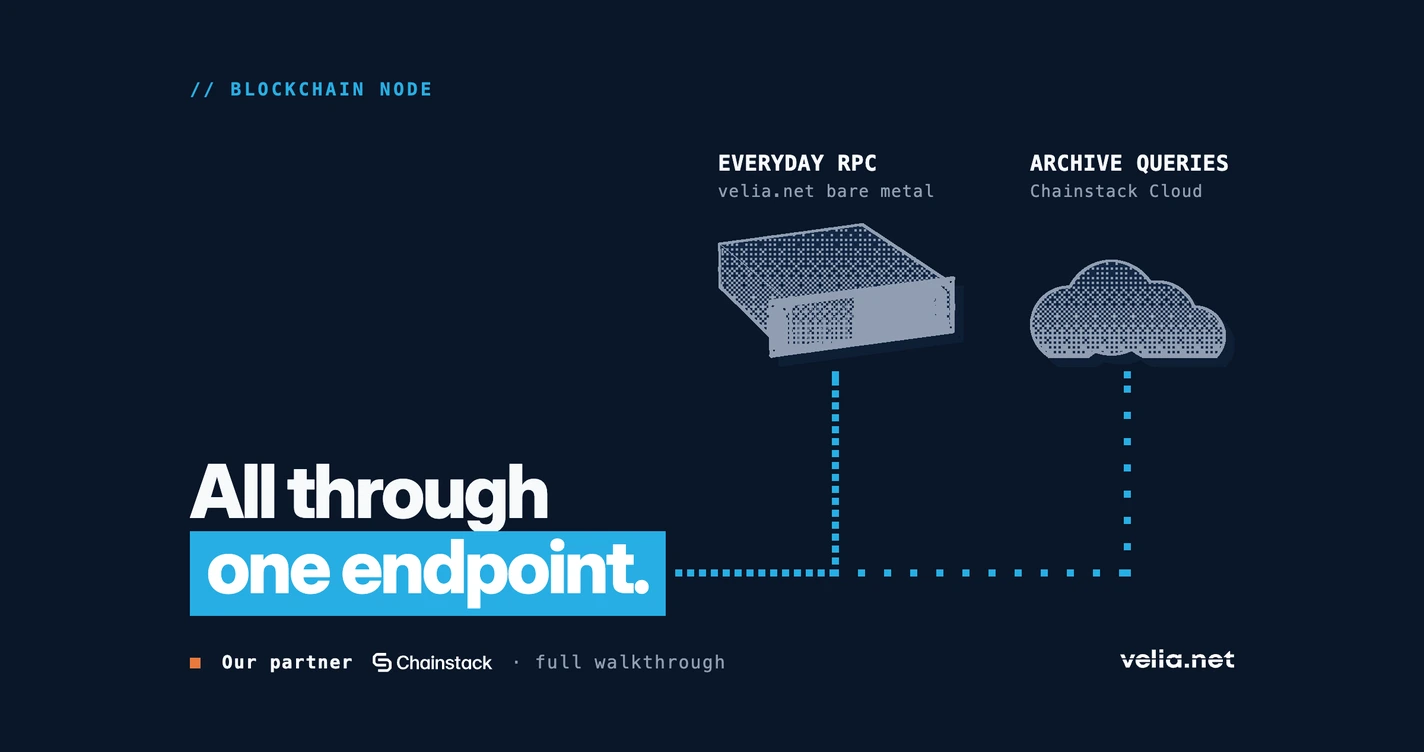
Running your own blockchain node does not mean you have to keep the whole history of the chain on it. Our partner Chainstack built a setup that splits the work: your own node on a velia.net bare metal server answers the everyday RPC calls, and the calls for old data go to a Chainstack Cloud archive node. One endpoint sits in front of both.
This page walks through the whole setup. It follows Chainstack's hybrid setup article, which has every config file and script.
Read the original on chainstack.com
Why split the traffic.
A full node keeps the recent state of the chain. An archive node keeps all of it, which means a much bigger disk and a much longer sync. Chainstack's point: most app traffic only needs recent state, and the archive calls (trace_*, debug_*, reads at old blocks) are the rare part.
So you run the full node yourself, and you send the archive calls to a managed archive node that you only use when you need it.
How the pieces fit.
Your own node. An Ethereum node, reth for execution and prysm for consensus, deployed and managed by Chainstack Self-Hosted on your velia.net server. Only the server itself can reach its RPC.
The archive node. A Chainstack Cloud archive node answers the calls your full node cannot.
eRPC. An open-source router on the same server, running in Docker. Your apps talk to its one endpoint. It decides per call which node answers, hands a call to the archive node when your own node cannot serve it, and keeps finalized results in a cache, so the same old block is fetched from the cloud only once.
Step 1. Order the server.
On the velia.net order page, pick a server that lists Chainstack Self-Hosted under Management Software. Chainstack's own guide uses the E-2286G SSD in Strasbourg. Leave the operating system on no installation or pick Ubuntu 24.04: Chainstack Self-Hosted then comes pre-installed on Ubuntu 24.04, and the Chainstack Control Panel is ready when you log in.
Chainstack's demo ran on a server with 32 GB RAM. For the Hoodi testnet they name about 8 vCPU, 32 GB RAM and around 500 GB of disk. Ethereum mainnet needs much more: Chainstack names 2 to 3.5 TB of NVMe for the full node.
Configure a web3 serverStep 2. Lock the server down.
Bots start probing a new public IP almost at once. Before anything else:
- Log in with an SSH key, not a password. Create one with
ssh-keygen -t ed25519and add the public key to the server. - Turn on a firewall that blocks every incoming port except SSH, and keep the internal Kubernetes ranges open so the node can work. Chainstack's article lists the exact rules.
- Switch SSH to key-only login and add fail2ban against brute-force attempts.
- The Control Panel answers on ports 80 and 443, and a normal firewall rule does not stop it. Block both ports with the raw-table rule from Chainstack's article, check that the rule is still there after a reboot, and reach the panel through an SSH tunnel instead.
- Your velia.net server comes with IPMI/KVM access. Change that password too: it is separate hardware with its own login.
Step 3. Put the chain data on NVMe.
If your server has NVMe drives next to the system disk, point the node's storage at them before you deploy the node. The commands are in Chainstack's article. By default the node's data lands on the system disk, and moving it later means deleting the node and syncing again.
With two NVMe drives, Chainstack's article joins them by hand into one volume (RAID 0). That wipes both drives, so check them with lsblk first and order them without RAID. RAID 0 has no redundancy, which is fine for a node you can resync. One NVMe drive is enough for Hoodi.
Step 4. Deploy your own node.
Open the Chainstack Control Panel. At the first login, go to Settings and change the default username and password.
Then open Nodes and add a new node: Ethereum, the Hoodi network and the Light preset. The node then syncs. Once eRPC runs (Step 6), it sends every call to the cloud until your node has caught up.
Step 5. Add the archive node.
In the Chainstack console, deploy an Ethereum Hoodi node with the node type Archive and copy its HTTPS endpoint. The endpoint contains your key, so keep it private. One trace_block call shows that it answers archive calls.
Step 6. Start eRPC.
eRPC runs from one Docker image on the same server. Its config names two upstreams: your own node first, with trace_* and debug_* calls kept away from it, and the Chainstack Cloud archive node as the archive and fallback.
Point the first upstream at your node's internal RPC address and the second at your Cloud endpoint, then start the container with host networking. eRPC's own ports stay closed to the outside.
The full erpc.yaml and the start commands are in Chainstack's article and repo.
Step 7. Check the split.
Chainstack's test scripts send a recent call and an archive call, then read eRPC's metrics to see which upstream answered. Once your node is synced, the recent call is served by your own node and the archive call by Chainstack Cloud.
To use the endpoint from your laptop, open an SSH tunnel to port 4000. Do not open that port to the internet: the endpoint has no login, and your Cloud key sits behind it.
Mainnet and other chains.
The demo runs on the Hoodi testnet. Ethereum mainnet takes the same eRPC config with a different chain ID, plus a Standard or larger node preset, a mainnet archive endpoint and much more storage. Ask the velia.net team which server fits. Chainstack says the pattern works for other EVM networks that Chainstack Self-Hosted supports. eRPC routes EVM chains only.
Who does what.
- velia.net: the bare metal server and the network, with free 24/7/365 support for hardware and network.
- Chainstack Self-Hosted: the node software, from deployment and health checks to updates and self-healing.
- Chainstack Cloud: the archive node.
- You: the server setup, your nodes, your endpoints and your data.
Ready to run your own node.
Configure a web3 server Talk to the velia.net teamBased on Chainstack's article "Cut RPC costs with a hybrid self-hosted and cloud setup" by Anton Sauchyk, July 2026.
Dedicated Servers
Enterprise bare metal built for demanding workloads. No noisy neighbors, no virtualization overhead.
See Server Plans